Corgi Week 3: Weighting the Avatar

To adequately modify weighting for the avatar, there are a few methods of particular relevance:

Automatic Weights

This is a shortcut – one which attempts to assign the mesh to the bones that are closest to that particular area on the mesh. Automatic weighting is achieved by right-clicking the mesh, THEN the armature in Object mode, then Parenting the former to the latter by selecting ‘Ctrl + P’. This brings up the ‘Armature Deform’ menu, from which  ‘Automatic Weights’ should be chosen.

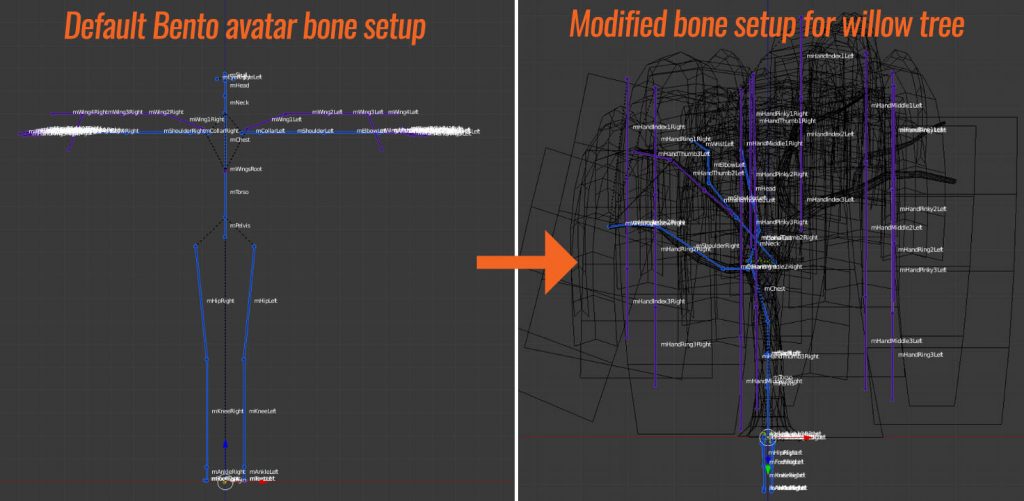
It is important to note here that with human avatars, it’s usually possible to use it to predict which parts of the mesh should be associated with which bones. The same cannot necessarily be said for avatars that depend upon a modified skeleton (like this Corgi). Sometimes Bone Heat works, sometimes it doesn’t. In any case, there will always be some degree of tweaking required afterward, so tools such as ‘Automatic Weights’ should be considered a useful tool in most cases, but not a magic bullet. This is why the following two methods are also very important to learn.

Manual assignation:

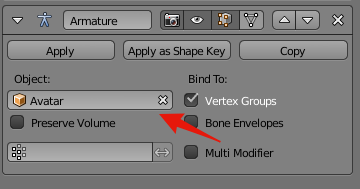
To accomplish either of the following two methods, the mesh needs to be parented to the armature. This can either be done by choosing ‘With Empty Groups’ from the Armature Deform menu (which we got to by selecting the mesh, then the armature – both in object mode – then hitting hotkeys Control + P) OR selecting the mesh and adding an Armature modifier, taking care to point the ‘Object’ field in that modifier to the appropriate armature.

Once this is done, the mesh can be weighted using the first, second or both of the following methods:

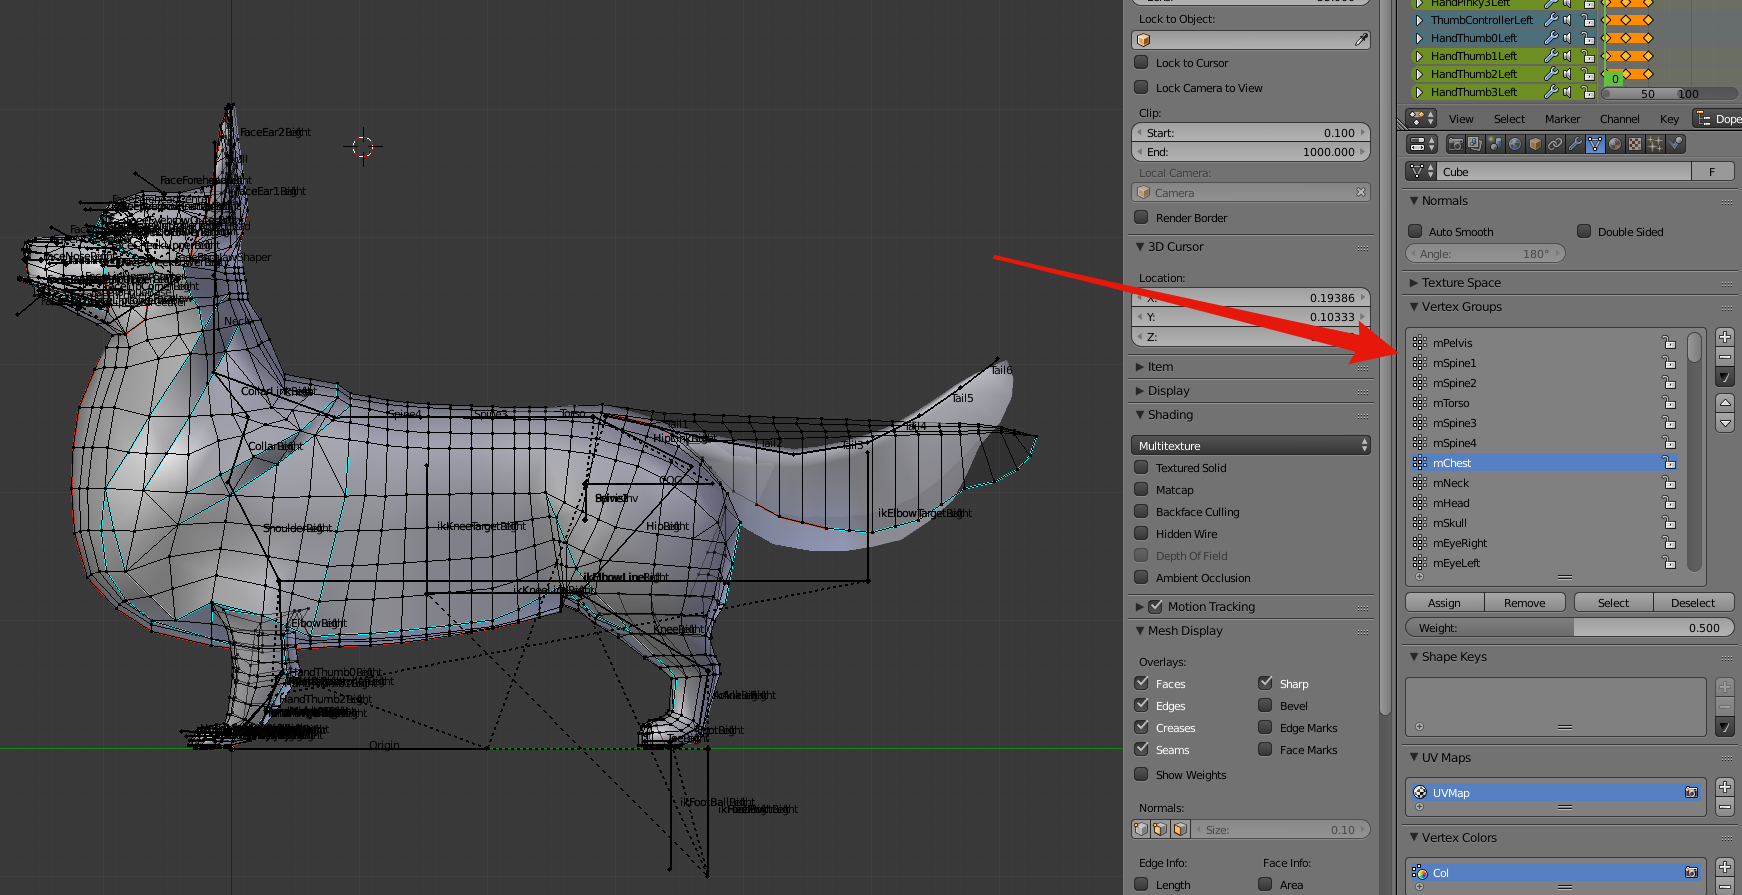
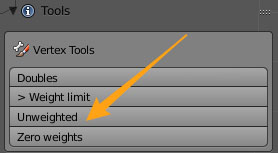
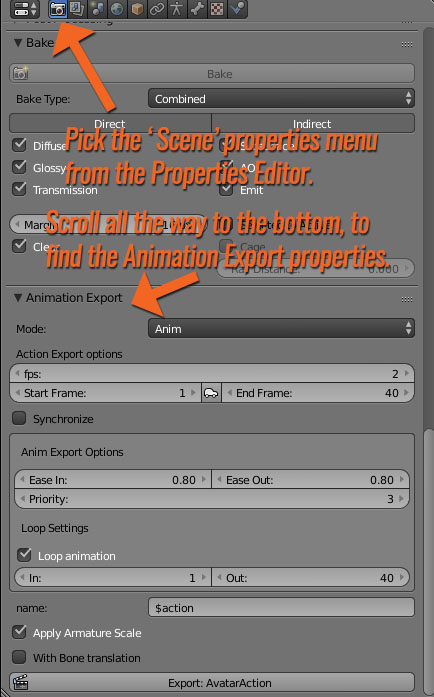
A) Assignment as an Edit Mode property – by selecting a single vertex or a whole group of them in Edit mode, you can affect their bone weighting by choosing the (above) indicated menu in the Edit properties tab, adjusting the associated weight and then hitting either ‘Apply’ or ‘Remove’. Vertices associated with a given bone can also be selected or deselected in this same menu.

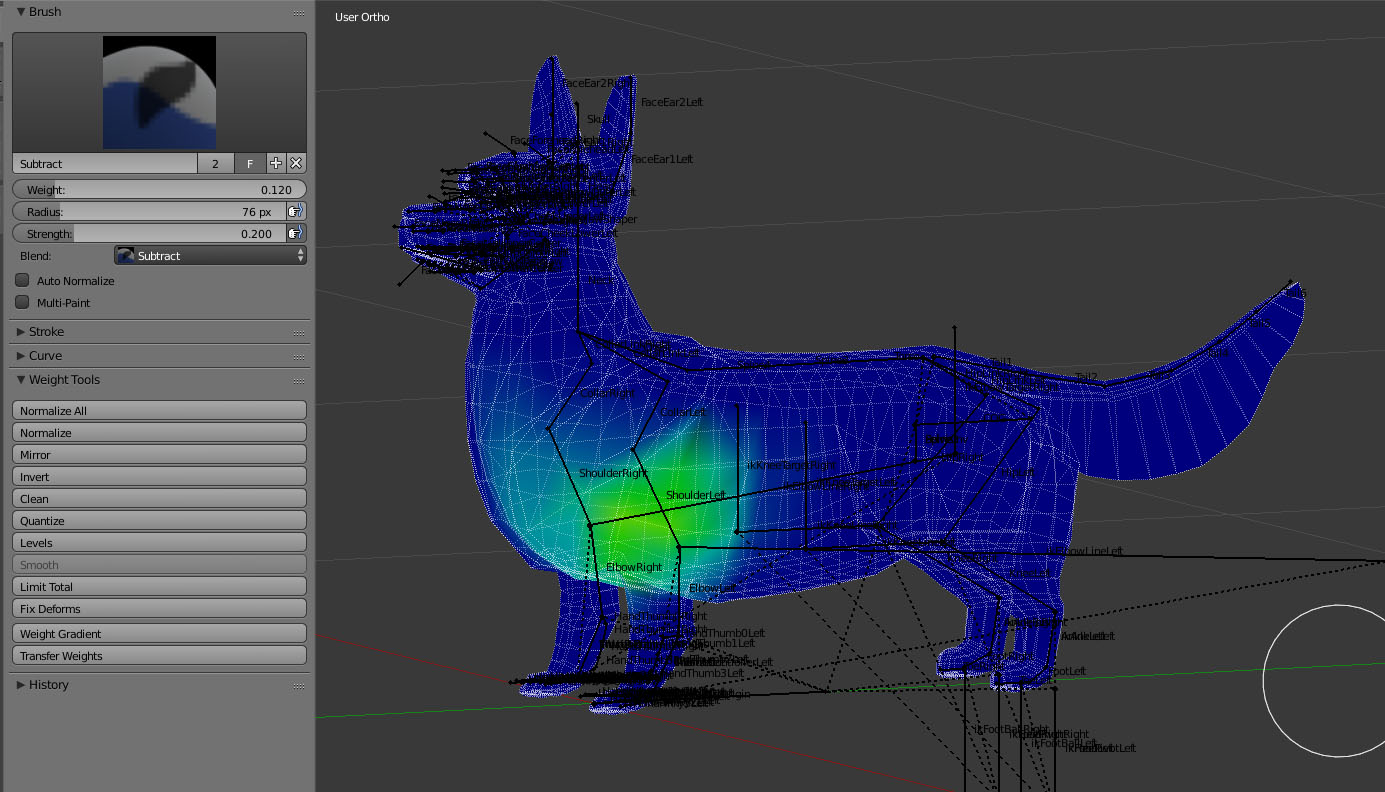
B) Weight Painting – This is a weighting method which allows you to visualize the degree to which verts are weighted to a particular bone through the use of colour. It allows you to use a digital brush to add, subtract, draw, lighten, darken, blur or otherwise affect bone influence, which in this mode is represented by a gradient of colour, ranging from blue (no influence) to yellow(middling influence) to red (full influence).

There are pros and cons to using each of these methods and almost 100% of the time, I use the second method *after* having used the first, in order to make it look more natural.

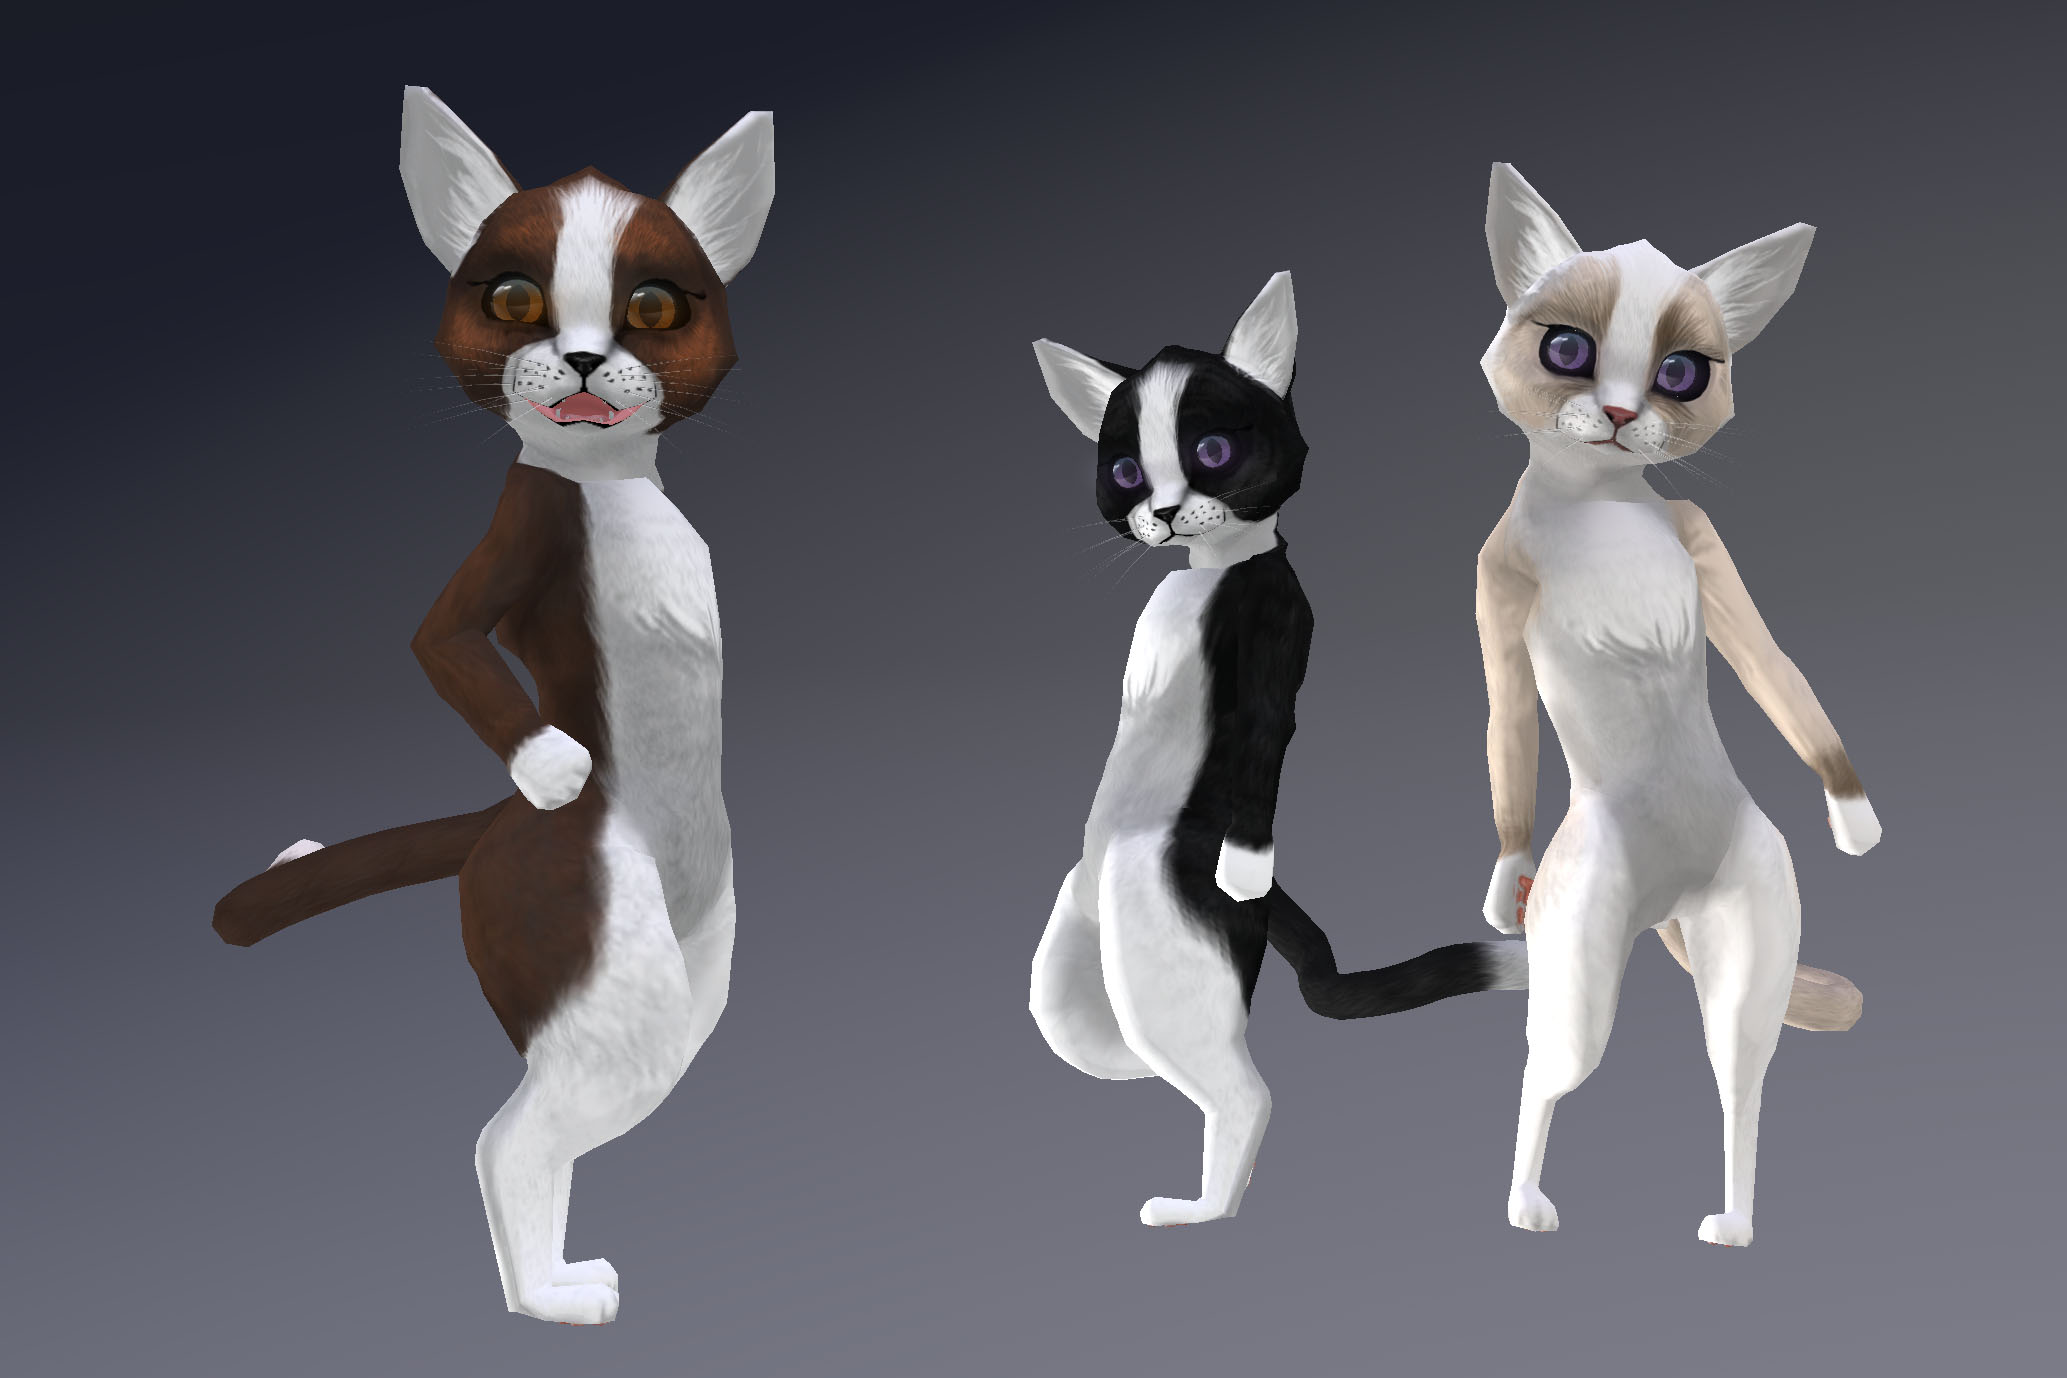
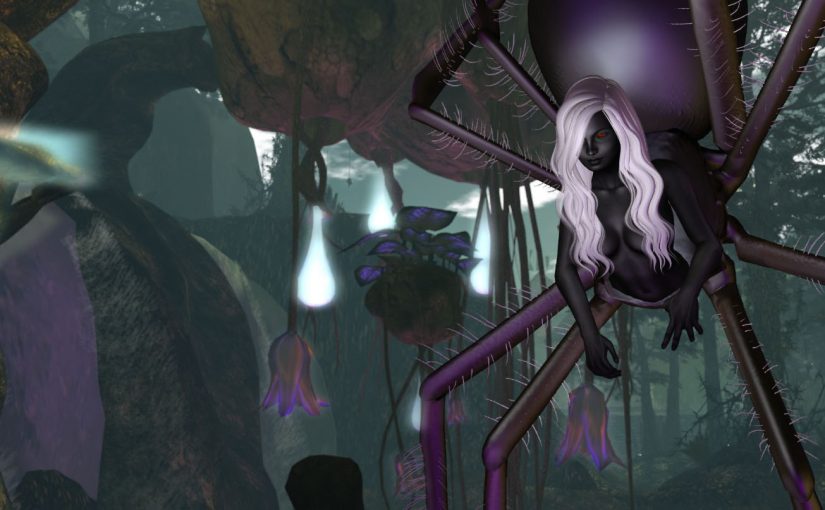
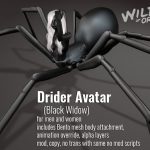
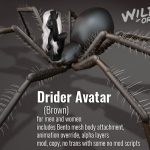
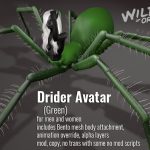
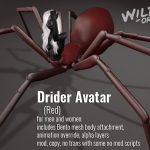
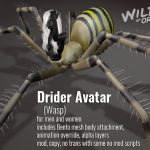
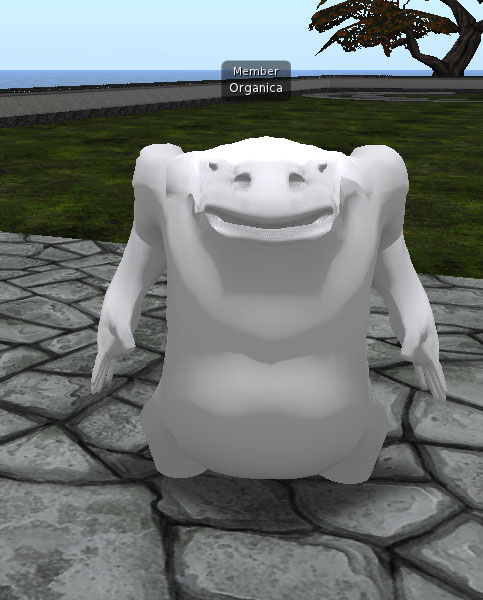
The weighting process with the cute, fuzzy and not-at-all skinny corgi has been, inevitably, a bit different (and long-winded) compared to weighting the sleek & non-squishy Drider avatar covered not too long ago.

I’ve always found this to be the case – coming to a happy medium between influence from multiple bones in a soft mass is a very organic process that depends heavily upon an understanding of what you want to move, and where.  Don’t be discouraged if this doesn’t work out right away. Understanding a lot of this comes with experience & experimentation.

Whereas you can (for the most part) assign heavy influence of a rigid mass to a single bone, rigging to ensure smooth movement along a curvy mass often requires more of a gradiated transition – sometimes extending well past the immediate location of the bone.

For example, you could weight mesh along a tail rigidly, but when it comes time to move it, the mesh will be overly faceted and easily visible from afar as being unnatural.

Adding geometry judiciously at this stage is a good way of adding a more natural look. This is also a great opportunity to smooth out weights along

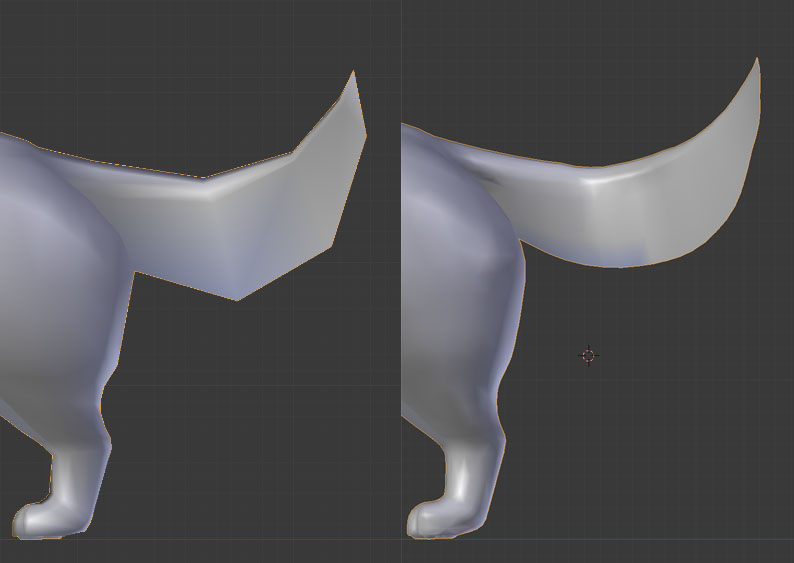
It’s at this stage that I have added more geometry to critical areas, such as joints and the tail.

Maintaining a low poly-count to start with is very helpful in reducing additional work when it comes to correcting delicate bone weights, but it’s also in these cases where adding intervening geometry is appropriate, and this is why, despite having used a Subsurface division modifier to visualize, I have not applied such modifiers permanently to my mesh. Being able to easily select and divide up edge loops and rings manually allows me the greatest ability to create more natural shapes while maintaining clean edge-flow.

The weighting and animation processes are inevitably intertwined. In the next little while, I’ll not only be animating but correcting vertices with stray weights as well. I will often be animating, find that a certain movement affects the mesh in some negative way, and as a result find that I need to go back to editing weights to prevent any significant negative outcomes.

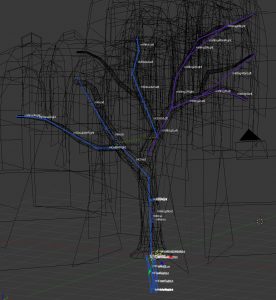
It’s also during this process that any final joint position tweaks should be made. As was mentioned in the previous post, it’s important to ensure any such position changes are carried out between *both* the Control bones (green) and the Deform bones (blue, purple, red). Failing to do so can cause some unpredictable results upon export.

(which happened here some time ago while working on the Yeti)

So far, I’ve explained the concept of these weighting methods and discussed a few pitfalls, but I’d like to delve a little deeper next week with some video content, demonstrating the use of these Weighting tools in greater detail. If you’re looking to learn about weighting with Blender & Avastar and have any particular questions for me to work in to these videos, please leave a comment here or drop by my Discord server for a chat within the next couple of days! (Latest March 4, please!)


If you enjoy what I’m doing here or think someone else might also find it of use, please feel free to share this blog with them. If you’d like to keep up to date with posts, the RSS for this blog is here, I can also be found on Twitter and Plurk. The Discord server is here.

If you really like my stuff, perhaps consider donating to my Patreon? Your continued support helps to produce weekly content (written, modelled, animated or otherwise) and helps to keep original content creation in Second Life!

Thanks for your support!

Fresh Cut Roses

Right in time for Valentines Day, these fresh-cut roses are now available in-store and on Marketplace and they are great for both buying for yourself or gifting to others!

Mod, copy, no transfer. To gift, left-click the vendor and choose the ‘gift’ option (or buy on Marketplace).


If you like what you see but don’t think it’s quite right for you, perhaps consider donating to my Patreon? Your continued support helps to produce weekly content (written, modelled, animated or otherwise) and helps to keep original content creation in Second Life!

New Flowers this week at Organica!

This week, we turn to Spring! Sorta.

It’s still pretty solidly winter here in Canada, so I figured we could use some flowers to brighten things up.

This week, you can pick up one or more gerbera varieties in store or on the Marketplace!

2LI at packaged size, these flowering plants feature vibrant colours and detailed materials – perfect for any outdoor garden! Pick ’em up now seperately or as a fatpack!


If you like what you see but don’t think it’s quite right for you, perhaps consider donating to my Patreon? Your continued support helps to produce weekly content (written, modelled, animated or otherwise) and helps to keep original content creation in Second Life!

New Furniture and Decor at Organica this week!

Today, I thought I’d share a new thing I’ve been working on, on top of a few other things that I can’t discuss quite yet.

I’ve always loved older furniture and one of my prized finds this year was a Duncan Phyfe drop-leaf table. It’s sort of hard to pick these up any more. Most are at least 75 years old at this point and they only come available every once in a while in Toronto, even though the occurrence of downsizing and estate sales seems quite high.

I managed to bring home one for a good price this past fall and it’s been both a beautiful yet unobtrusive addition to my kitchen, mostly in that it is so flexible in the way of footprint.

In any case, I decided to put together something with similar functionality, and here is the result.

For the moment, this table will come as three static versions, with movable drawers, all in one package. Ideally, I would like to take this in to an Animesh format in the future, so that a single scripted object would be all that is necessary to rez. We’ll see how well this works in practice in the following few weeks, provided available time.

This current version is mod, copy, no trans, 5LI ea and available in 8 colours. It will be eligible for free updates if/when an Animesh version is made available.


Additionally, there are a few light decor items being released this week as well, including some vase and table accent pieces, as well as some original inkwash artwork by Florence Chan (me).

Each are mod/copy/no transfer.

Everything mentioned above is now available in-store or on the Marketplace!

Background environment is Scarlet Creative’s Mountain Lodge gacha rare, by Charlotte Bartlett.


If you like what you see but don’t think it’s quite right for you, perhaps consider donating to my Patreon? Your continued support helps to produce weekly content (written, modelled, animated or otherwise) and helps to keep original content creation in Second Life!

Kitten Avatar Update + New Coat Announcement!

Today, I’m glad to announce that the Kitten avatars are undergoing a long-awaited update, which includes additional Bento functionality plus a brand new animation override. This updated avatar is now available in shop, along with one completely new line – the Bicolour coat pattern!

If you already have one (or more) of either the Tabby or Cheshire avatars and purchased it off the Marketplace, you can expect an automatic delivery for each within the next twenty-four hours. A limited number of recent in-store purchases will also receive this automatic update. If you do not receive your update by Jan 17 2018 (EDT), please see below before contacting me by IM:

If you purchased in-store prior to Christmas and do not recieve an update automatically, please come to the main shop and rez your update token (found in your original Kitten package). There may be a delay but you should still get your update that way. If it times out, please contact me (Aki Shichiroji) directly by IM.

This new bicolour pattern is very much intended to reference the ‘tuxedo’ look that many bi-colour cats have. Five colours are available in this line and these new kittens will include Bento functionality, just like the updated originals!

Changes (2018/01/15):

– Facial and tail Bento support
– New Animation Overrider HUD featuring advanced facial animations specifically for this avatar
– Update system now also uses the blue circle exchanger system (Read the included notecard for full details).

Known issue: RFL Purple Cheshire has not been addressed in this update but will be within the week. Please stay tuned for further info.

Relevant inquiries:
Will the applier system used for several other recent releases also be used for the kitten avatar?
– While the possibility is not closed to this, the logistics are non-trivial. The Applier system will not be applied to the kitten avatars at this time.

Will dev-kits and/or clothing be made available for these avatars?
– Both are being taken in to consideration at this time and both are very likely. Again, the logistics of packaging and managing a growing number of coats for this avatar are something that I need to become accustomed to before I will have time to address either. Please IM me to let me know of your interest!

Will animesh support be provided with this avatar?
– It’s a bit early to comment, but animesh for this avatar is quite likely. In all likelihood, Animesh support will involve a customized kit that can be dropped in, but given that these details are rather abstract, the final execution may be somewhat different. There are also some non-mesh and non-rigged components which would need to be converted for use with Animesh should a conversion occur, so I would need to account for the additional time cost for this work.

Stay tuned to the Subscriber Kiosk or the in-world group notices for further news about this or other releases from Wilds of Organica! Join the Subscriber kiosk ( here ) or the in-world group ( here )!

Thank you for your ongoing support!


If you like what you see but don’t think it’s quite right for you, perhaps consider donating to my Patreon? Your continued support helps to produce weekly content (written, modelled, animated or otherwise) and helps to keep original content creation in Second Life!

Willow Tree Process (Part 4) – Rigging and animating

A small amount of downtime over the past couple of days has given me the opportunity to move forward with my Animesh Willow experiment.

At this point, I have to mention that this is all it is – an experiment. In the course of playing with animating a tree, I ran in to a number of hurdles which I’ll have to consider whether I want to get around before any possible release. (I’ll go in to these a little later).

From the hint that animesh might be a thing, I’d been thinking about using it for more efficient modelling of animated vegetation. Willows are the most obvious candidate for me, since I’ve long avoided creating more.

Original solutions for willows have historically included flexiprims and while these may still prove useful, I wanted to see what I could come up with that wouldn’t be so taxing on the viewer. The opportunity to create something that isn’t so heavily dependant on SL wind is also promising.

My willow tree armature required  some significant modification of the default Bento avatar armature.

Currently, Avastar allows a user to select and move bone joints for either the blue/purple SL armature or green Control Bones in edit mode, then to align them to their counterparts. This is what I did and (so far) I haven’t needed to adjust any of the parenting for this rig.

I opted not to make use of the lower limbs (for now) because doing so can present some orientation issues due to how bones are parented. If i need to in the future, I may put in more time to figure this out, but in this particular use case, I chose to just use the bones from torso up, arms, hands, wings, neck and head (no face), simply because these would handle the geometry sufficiently.

The result is, in a very general sense, positive.

For the most part, the trunk was parented to bones which are logically closer to the middle of the skeleton. So it got torso, chest, collarbones, upper, lower arm, neck, head, etc. Most of the fingers got assigned to equidistant areas around the trunk for foliage.

In hindsight, I would probably rig and model concurrently. Because there was a significant amount of foliage geometry mixed together, selecting appropriate foliage and assigning it to its nearest bone was a bit tedious. Doing this a bit at a time to ensure proper movement would have been the better way to go.

Fortunately, Avastar offers a means of checking for unweighted verts, so this process was made a bit easier as a result.

Weighting was undertaken mostly using the weight painting brush, but occasionally I would also hold down Ctrl while making my brush strokes to create a gradient of weights for my selected vertices.

Because there were so many vertices in relatively close proximity, I selected the bones I wanted in weight-painting mode, then hit ‘V’ to show vertices. I then selected the vertices I wanted to paint (rather than painting on everything)  and brushed on only the areas highlighted by the selected vertices.

Animating the tree:

Once all of the vertices in the geometry were assigned, it was time to try some basic animation. So far, I’ve just put together a basic sway animation as a test case, but I may continue to create a variety of other animations the tree can play on command.

In order to create an animation, I split off a window pane in Blender and switch it to ‘Dope Sheet’ view. This gives me a frame-by-frame listing of bones for which location and/or rotation* has changed, over time (in frames). There are other more detailed and useful views you can use for animation, but this is the most basic view you’ll need right away.

(* Scale changes are ignored by SL, both on the armature and animation side.)

The Dopesheet operates mostly from left to right, although it does list off bones which have been weighted, on the left hand side as ‘channels’. When a bone is selected in 3D view, the appropriate channel will highlight in the Dopesheet view. On the flipside, you can also left-click the name of the bone in Dopesheet view to select the bone in 3D view.

To animate, we need to ‘keyframe’ a set of changes in rotation and/or location and have Blender interpolate these transitions from keyframe to keyframe. In this case, the chief translations we need to make will be rotational.

To begin, I select every bone in the armature and keyframe the current rotation as a keyframe (Hotkey I, select ‘Rotation’). This will be my starting frame.

Next, we need to create the second position for the appropriate bones. Since I am only moving the hanging foliage, I select the appropriate bones (mostly just finger bones) and rotate them in the general direction I want.

Then, since I just want to test and loop motion between these two keyframes, I select all of the points from the first keyframe, duplicate them and move them to where I want my end frame to go, allowing the animation to seamlessly move from the last frame to the first when it loops.


Next, we need to define our export settings to convert these keyframes to a full blown animation that can be used in Second Life.

Of note: Normally, frames per second (FPS) is set around 24. This particular animation has been slowed down significantly such that only two frames play per second, for a much more subtle effect. This can be played with depending on application – sometimes I will tinker with this to speed up or slow down walk-loops for avatars.

By default, I export .ANIM files instead of .BVH files – I don’t play much with the system morphs that come with .BVH and in this case, such morphs (system avatar-based facial expressions, hand gestures) are not applicable to this sort of content.

Once I have defined the start and end frame for the animation as well as the start and end frame for the loop (not always the same!), I click ‘Export: AvatarAction’ and save it with an appropriate file name.

In-world, I enable my willow as an ‘Animated Mesh’ object and drop the animation in to the mesh. Some additional scripts are needed to make use of this animation – some sample scripts to get you started can be found on the Animesh regions on ADITI grid currently. Hopefully we’ll see some more sample scripts on the wiki soon too.

The result:

Current downsides:

  • Animesh currently can’t be resized. They make use of the armature, where the size is defined upon upload. It may be necessary to create several different sizes for variety and, depending on application, special attention to scaled animations may be necessary as well.
  • Transparent textures placed upon Animesh-enabled geometry currently do not cast a correct shadow.
  • Base 200LI – this is likely to change for the better. Vir Linden has always maintained that the current 200LI base is boilerplate and mainly intended to be more restrictive than the ultimate release. Once I have a better idea of base cost, I’ll have a better idea of whether I’d like to move ahead with further LOD optimization and more detailed animations.

So for now, this willow will be on my backburner until we have more info from the weekly content creation meetings (Thursdays at 1PM SLT, Animesh 4 region on ADITI grid).

In any case, I wish you all a very Happy New Year!

I’ve had the fortune of being able to pick up more work in the past year and also the opportunity to present my thoughts and new releases with you lately here on the blog – I’m really looking forward to keeping the ball rolling in the coming year and hope to have more to share with you soon!


If you found this or any other of my articles helpful, please consider becoming a Patron! Doing so supports further articles of this kind and my content creation in general.  Alternatively, if you like the sorts of things that I make for Second Life, drop by my Marketplace listing or my in-world stores and check out what I have to offer!

Unless otherwise noted, I (Aki Shichiroji) and this blog are not sponsored in any way. My thoughts are my own and not indicative of endorsement by any associated or discussed product/service/company.


Two More Candy Fair 2017 Releases!

As promised, a number of other new items are now also available this week (thru Dec 1!) at Candy Fair!

Alongside the Cat Ears & Tails, there will also be the following:

Much like the Cat Ears & Tails, these Bento attachments come with the short ear & long tail AO, which is intended for layering over existing human AO animations. They come with lifetime updates and are optimized for use with viewers which use the Advanced Lighting Model. They are mod, copy, no transfer , with some no-mod scripts.

This Candy Fair edition of webbed wings is much like the original release, in that it includes both small and large mesh, as well as AO, for various body shapes. They come with lifetime updates and are optimized for use with viewers which use the Advanced Lighting Model. These, too, are mod, copy, no transfer, with some no-mod scripts.

You can pick up the Cat Ears & Tail, Mouse Ears & Tail & Candy Fair Edition Webbed Wings at Candy Fair here until December 1! (Some previous years’ Candy Fair gacha releases are also available again at the Gacha Gardens there too!)

See you there!

Coming Soon at Candy Faire

A few new items are in the works for Wilds of Organica’s debut at Candy Faire (previous years it was Organica Specialty Landscaping & Decor) – What I can talk about so far includes this new Ear and Tail release for those who appreciate the feline persuasion!These Bento-enabled and animated attachments take advantage of advanced materials to produce a realistic fluffy and furry texture.

Eight treat-themed colours are available and these attachments come with an AO HUD for layering over top normal human animations! (Please note – does not come with its own human anims).

Other items are also in the works, time permitting, but this is what I can talk about so far.

Candy Faire opens on November 17 and runs thru December 1st! This and other products will be exclusively available there during the event! (They’ll hit the main store and Marketplace afterward) Further info on this next week!


Did you know I have a Patreon account? If you enjoy this content, please consider becoming a Patron! It helps me create more like it and offers a variety of rewards. Alternatively, if you like the sorts of things that I make for Second Life, drop by my Marketplace listing or my in-world stores and check out what I have to offer!

Unless otherwise noted, I (Aki Shichiroji) and this blog are not sponsored in any way. My thoughts are my own and not indicative of endorsement by any associated or discussed product/service/company.

Drider 1.01 Updates

An update is now available to the Drider avatar as the result of feedback accumulated over the past week!

After a considerable amount of time spent testing various mesh body demos (both male and female), I was able to ascertain that the vast majority of mesh avatars fit the initial mesh body shape with minimal issue, assuming default male or female body shapes were used. A small number of mesh bodies did not fit this norm (or did  not have sufficient alpha granularity). For these, a special version of the avatar mesh was made, featuring a wider and slightly deeper hip area.

There have been additional resources added to the main documentation, including a full list of bodies tested, whether they are compatible and, if so, what the appropriate alpha settings would be.

Additionally, after some feedback regarding attachment points, I was able to go back in to the avatar file and reposition a fair number of attachment points. Attachment points for the front legs should now all match up to their appropriate bones. Wing attachment points now match up with the second set of legs (lowest joint). Hind attachment points now match up with the third set of legs (lowest joint). Tail base and Tail tip were found to not be movable, so tail base fits the top of the right hind leg and tail tip moves to the top of the left hind leg.

Additional testing involved the most ideal attachment point for adding things to the abdomen – For this purpose, I recommend Pelvis. Spine is affected by the position of the torso, groin doesn’t play well with the bones being used for the spider thorax & abdomen.

Please note: One attachment point will give you up to five attachment slots to use at that one point. To use multiple attachments per point, simply ‘add’ instead of ‘wear’.

All vendors and marketplace listings have since been updated – to check if your package is up to date, please check the description field of your avatar’s box. If it predates 2017/10/21, please exchange your avatar at the Wilds of Organica Avatar Exchanger, which is currently located here (but which you can always find a SLURL for in Aki Shichiroji’s profile (under Picks> Gacha Exchange Policy and exchanger location).

Lastly – there have been some inquiries about a dev kit for the drider avatar. There are plans for this, but it is not available at this time. Interested parties should keep an eye on this blog, join the in-world group or the Discord server for announcements regarding applications and availability.

The Driders Are Here!

Just in time for Halloween, the Driders have made it to Wilds of Organica!

This avatar is a lower body, Bento-rigged attachment designed for use with both male and female shapes! Six coats are available and each package includes the avatar body mesh, an alpha layer, and animation overrider. The avatar is mod, copy, no trans, with some no-mod scripts for updates.

Full, most up-to-date documentation can be found here!

Please note! This avatar uses hind, wing, and tail bones! It may be incompatible with other Bento-enabled products – please try a demo first, as I cannot give refunds (other than for duplicate purchases).

Available in store or on the Marketplace!